Load, Stress, Spike, and Soak Testing Explained
Choose the right traffic profile to check expected demand, capacity limits, sudden bursts, and long-running stability.
Part 2 of the API performance testing series. Choose the right traffic profile to check expected demand, capacity limits, sudden bursts, and long-running stability.
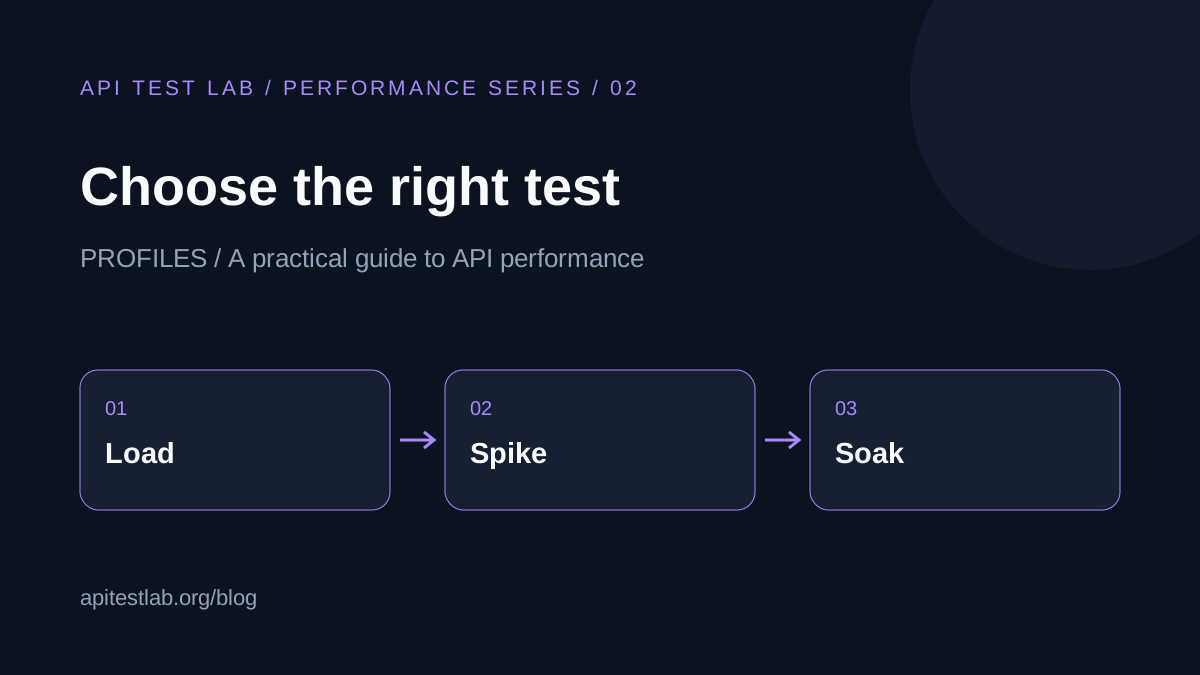
Four questions, four traffic profiles
A single performance run cannot answer every capacity question. A steady workload checks expected demand; a sudden burst checks how the system reacts to change. Pick the profile that matches the uncertainty you need to resolve.
| Profile | Main question | What to observe |
|---|---|---|
| Load | Does expected demand meet targets? | Latency, errors, completed work |
| Stress | Where does capacity break down? | Saturation, queues, recovery |
| Spike | What happens during a sudden burst? | Rejections, scaling delay, recovery |
| Soak | Does performance degrade over time? | Memory, connections, backlog |
Load testing: establish a baseline
Increase traffic gradually to the expected operating level, allow the system to settle, and measure a stable interval. Keep payloads and user journeys representative. Compare the result against criteria defined in your load testing plan.
A baseline is most useful when repeated under comparable conditions. Record application version, infrastructure, and cache state instead of treating a single screenshot as proof of capacity.
Stress testing: find the limiting resource
Increase demand in deliberate steps beyond the baseline. At each step, watch whether successful throughput still increases. Rising latency with flat throughput often means work is queueing rather than completing faster.
Define stop conditions in advance: sustained errors, excessive queue growth, or an unhealthy dependency. After reducing traffic, verify recovery. A service that stays unhealthy after demand falls has a different problem from one that briefly rejects excess traffic.
Spike testing: examine the transition
A burst can reach an application before new capacity is available. Start from a known baseline, apply a short increase, then return to normal traffic. Compare the transition period with the steady interval.
Inspect cache misses, connection creation, rate limiting, and downstream pressure. Report intended and achieved traffic separately; an overloaded generator can make a burst appear smaller than planned.
Soak testing: look for gradual change
Hold a representative workload long enough to observe the behavior you suspect. A token expiry, scheduled job, or connection leak might not appear during a five-minute run. Choose duration based on those mechanisms rather than a fixed rule.
Graph memory, open connections, and queue depth alongside latency. Some memory growth is normal caching; repeated growth without a plateau deserves investigation. Include a recovery window after traffic stops.
Run profiles in a useful order
First validate correctness, then establish load behavior. Add stress or spike tests for capacity and burst questions, and use a soak test for problems that develop over time. The next article explains how to make sense of the results.
Continue the series
1. How to Build an API Load Testing Plan
2. Load, Stress, Spike, and Soak Testing Explained
3. How to Read API Load Test Results
More from the blog
Read 3 related articles from our latest posts.